Shower Waterproofing in Lakewood, CA Bathroom Remodeling: What Goes Behind the Tile
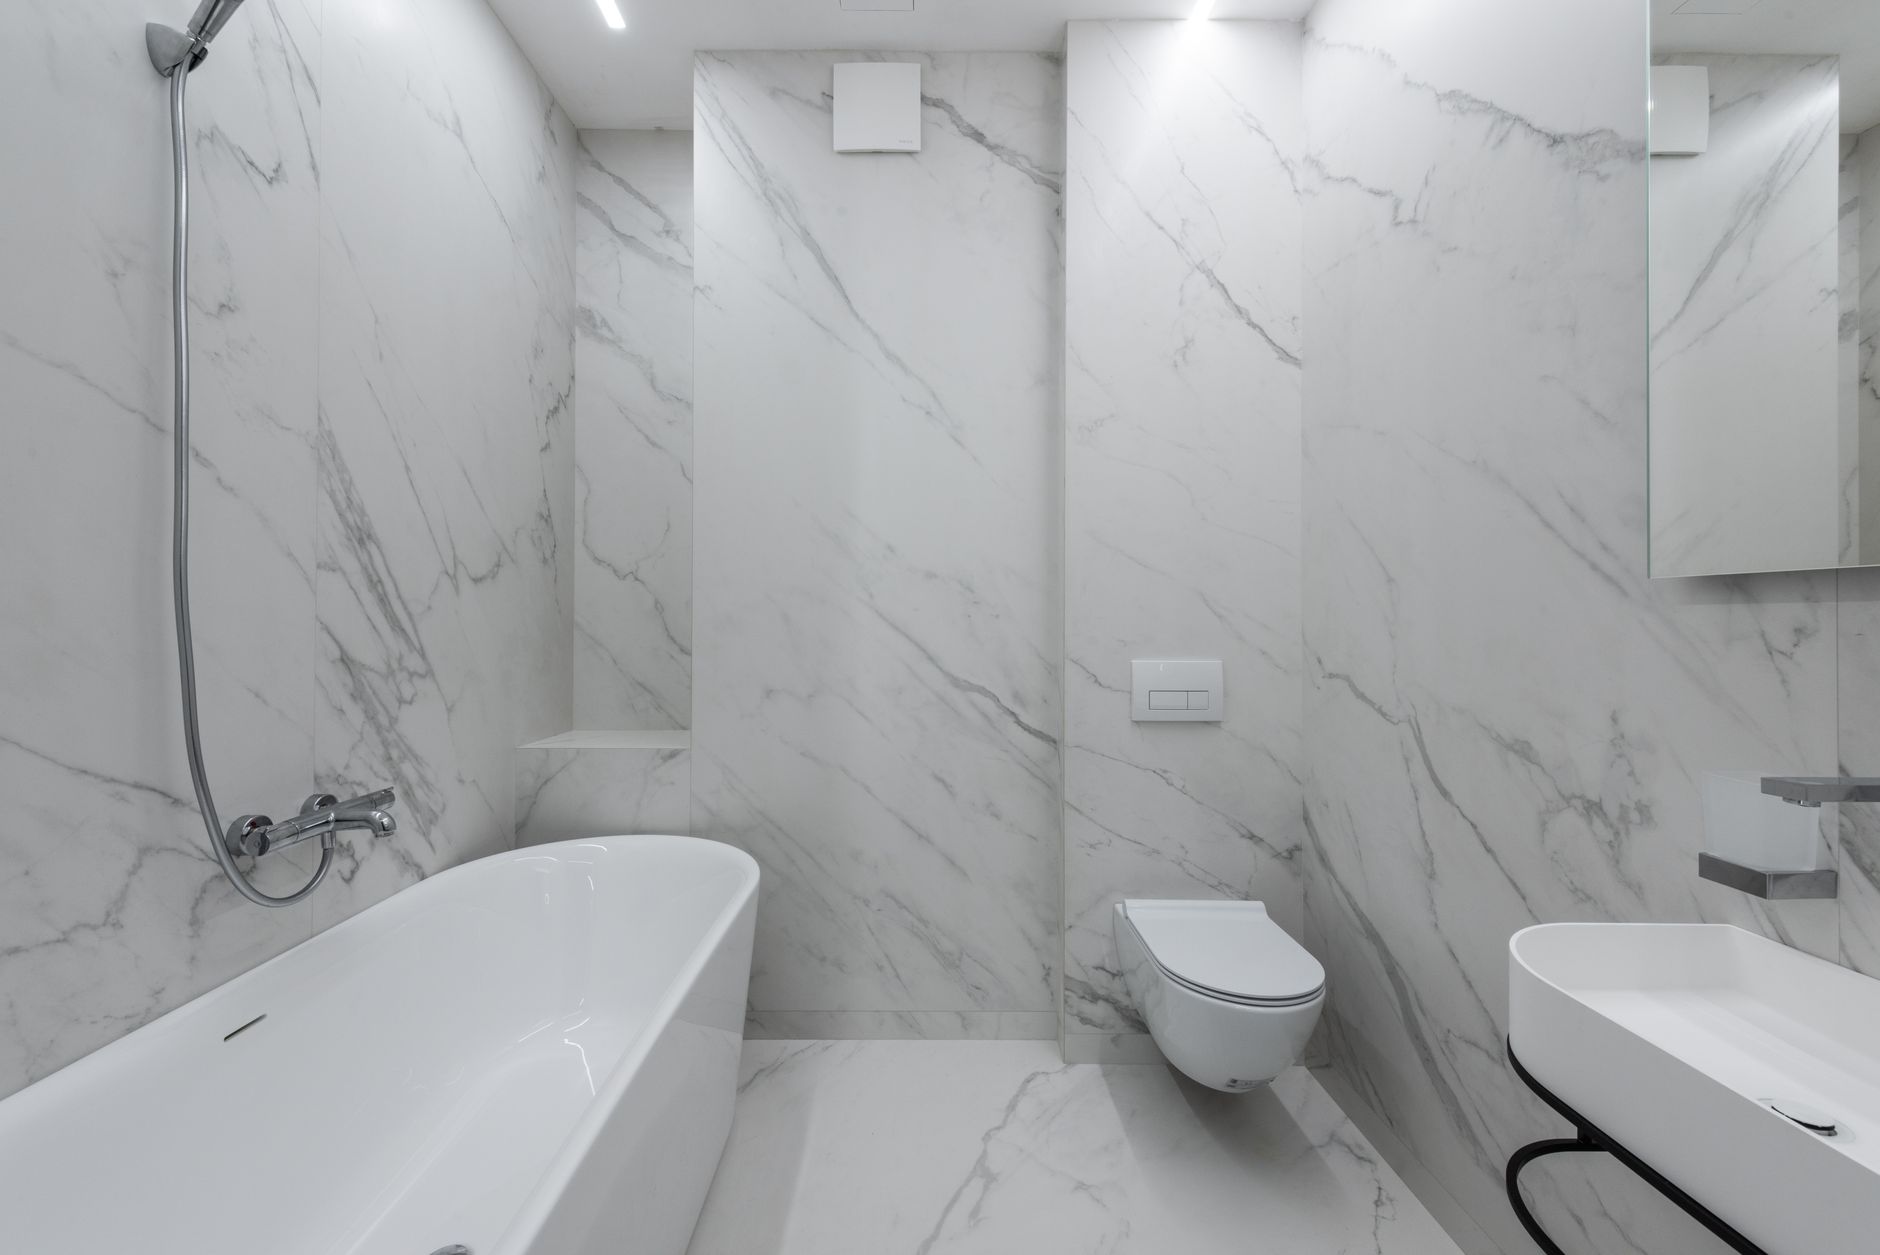
A continuous waterproof membrane and a sloped pan behind the tile keep a shower dry during bathroom remodeling in Lakewood, CA, because tile and grout never stop water on their own. Moisture passes through porous grout joints every time the shower runs, reaching the setting bed and the backing layer underneath. When that hidden barrier is continuous, pitched toward the drain, and sealed at every corner and pipe cutout, water drains away harmlessly between uses. When the membrane is missing, punctured, or pieced together from mismatched parts, dampness stays trapped against wood framing and subflooring long before any stain appears on an adjacent wall.
Why Tile and Grout Alone Do Not Stop Water
Tile and grout are not waterproof, so the waterproof layer behind the tile does the real work of protecting a bathroom. Even dense porcelain or ceramic tile sits surrounded by grout lines, and water passes through microscopic pores and hairline cracks in that grout during daily showers. Gravity and capillary action pull that moisture behind the vertical wall tiles and down into the floor assembly. Applying a grout sealer when the grout product calls for it helps resist surface stains and makes routine wiping easier, yet sealing grout never replaces a waterproof membrane beneath the tile. Similarly, running flexible caulk along the tub apron or shower tray edge helps shed surface water at the perimeter, while the underlying membrane and pan handle the moisture that inevitably gets behind the tile surface.
What Sits Behind Original Showers in Lakewood Post-War Homes
Many post-war homes across Lakewood, from neighborhoods near Mayfair and Lakewood Village to streets off Del Amo Boulevard and Bellflower Boulevard, have original showers built over thick mortar beds with older membranes. Builders of that era typically formed heavy sand-and-cement beds over tar paper, asphalt felt, or early pan liners. Not all old showers are leaking, and a classic mortar bed can remain serviceable for a long time. However, a bathroom remodel is the time to replace those aging layers completely rather than tiling over old tile or reusing an existing pan. Older waterproof papers and liners turn brittle with age, and the vibration of demo work easily fractures a hidden membrane. Stripping the shower enclosure down to the bare studs and subfloor lets you replace outdated backing materials and inspect the framing before rebuilding.
Inspecting Raised Floors and Concrete Slabs During Demolition
Opening the shower floor during demolition reveals whether the foundation beneath the bathroom needs structural repair or drain adjustments before the new pan goes in. Lakewood homes sit on either raised wood floors over crawl spaces or poured concrete slabs, and each foundation has its own inspection priority.
Raised-Floor Homes and Subfloor Checks
In raised-floor homes, an old leak around a shower pan, curb, or drain can rot the wood subfloor and the joists underneath. Once the old mortar bed and liner are removed, the exposed subfloor sheathing and floor joists should be inspected thoroughly before rebuilding. Soft wood, dark water rings, or sagging framing must be repaired so the new shower pan rests on a flat, rigid structure that will not flex under foot traffic.
Concrete Slab Homes and Drain Height
On slab homes, there are no wood joists beneath the pan, so the inspection centers on the drain cutout in the concrete. You should verify that the below-slab drain line connects properly to the trap and that the new drain assembly is set level and at the right height for the planned shower floor thickness. A drain set too high or too low throws off the floor slope and interferes with membrane connections.
Wall Backer Boards and Why Cement Board Needs a Membrane
Choosing a proper wall substrate keeps the tile assembly stable, but the board itself does not waterproof the wall. Standard drywall and moisture-resistant greenboard do not belong behind tile in a shower, because gypsum cores soften and paper facings feed mold when dampness passes through the grout. Cement board and fiber-cement backer panels resist rotting and warping when exposed to moisture, which makes cement board water resistant rather than waterproof. Water still wicks straight through cement board pores into the wood stud cavity unless a waterproof barrier stops it. Every cement board shower wall still needs a liquid-applied membrane painted over its surface or a sheet membrane bonded across the panels.
Common Shower Waterproofing Systems and How They Work
Modern bathroom remodeling projects typically rely on liquid-applied membranes, bonded sheet membranes, or traditional pan liners, and no single system is best for every shower. Whichever method suits the layout, using one manufacturer's system throughout when possible ensures that the membrane, seam tape, corner pieces, sealants, and drain assembly are designed to bond together reliably.
Traditional Pre-Slope, Liner, and Mortar Bed Pans
Traditional shower pans use a layered assembly built from a pre-slope, a flexible liner, and a top mortar bed. First, a sloped mortar layer creates a pitch toward the drain before the waterproof liner goes down. Next, the flexible sheet liner lays over that pre-slope, turns up the framing walls well above the curb height, and connects to a two-piece clamping drain. A final mortar bed goes over the liner to support the tile. Any water that passes through the floor grout filters through the mortar bed, hits the sloped liner, and drains out through weep holes in the clamping drain.
Surface-Bonded Sheet Membranes
Sheet membranes bond directly to wall backer boards and sloped pans with thinset mortar, placing the waterproof layer right behind the tile. Because moisture stops at the surface sheet instead of soaking into a thick mortar bed, the shower floor dries out quickly between uses. Bonded membranes need a compatible bonding flange drain that the sheet membrane connects to directly, creating a watertight seal right at the top of the drain assembly.
Liquid-Applied Waterproofing Membranes
Liquid-applied membranes are painted or rolled over backer board and cured mortar pans to form a seamless rubberized membrane after drying. Corners and board joints are reinforced according to the product specs, and coats are applied to build a continuous barrier. Installers must let the membrane cure as directed before tiling so the coating reaches full strength and elasticity before thinset mortar covers it.
Sealing Vulnerable Corners, Penetrations, and Built-In Features
Leaks in a remodeled shower rarely start in the center of a flat wall; they start where materials change direction, where accessories are recessed into the framing, or where pipes pass through the enclosure.
Floor Slope and Changes of Plane
The shower floor needs a steady slope toward the drain under the tile so water never sits in puddles inside the pan. Where walls meet the shower floor or meet adjacent walls, the framing moves slightly over time. Using the membrane system's preformed corner pieces behind the tile and applying flexible sealant rather than rigid grout at all changes of plane prevents corner cracks from letting water escape.
Niches, Benches, and Window Sills
Recessed shampoo niches, built-in benches, and window sills inside the shower are the most common leak points because water splashes and rests directly on their horizontal surfaces. Each corner of a niche, bench, or sill must be sealed into the wall membrane, and every horizontal ledge must be sloped slightly toward the shower floor so water runs off instead of pooling in the joints.
Plumbing Valve and Shower Head Penetrations
Every pipe stub-out cuts an opening through the backer board and waterproof barrier. Valve and shower head penetrations need dedicated sealing collars or flexible rubber gaskets integrated into the membrane so water sneaking behind trim plates cannot run into the wall cavity.
Flood Testing, Progress Photos, and Bathroom Ventilation
Verifying the waterproofing before tile goes on and controlling airborne humidity afterward protect your Lakewood bathroom remodel for the long run. A flood test, which involves plugging the drain and filling the waterproofed shower pan with water for a set time, checks the pan for leaks before any tile is installed. A flood test is not required by every local rule, so ask upfront whether one will be done on your project. You should also ask for photos of the completed membrane, pipe collars, and pan before tile covers them, because the waterproofing is the critical layer you will never see again once the tile is set. Finally, an exhaust fan vented all the way outside the home matters even in Lakewood's mild climate, since trapped bathroom humidity condenses on walls and grows mildew behind fixtures and trim.